Video
The truth about the Sony FS5. Part 2 – Preliminary Objections.
Before I got the camera, most FS5 owners I talked to had two complaints: the camera’s menu, and the XAVC-L codec.
I can see how some shooters used to big cameras with tons of real estate for analog buttons can find the menu a bit awkward. But coming from the photo world, where pretty much every camera has to be set up and reconfigured with the camera’s menu, I personally don’t see any issues whatsoever. On the contrary, I believe the menu offers a wide variety of options to truly customize the camera to one’s liking.
Some FS7 shooters have complained about delays while navigating the menu. I didn’t experienced anything like it with the FS5. Unfortunately I have to agree with the second complaint: XAVC-L. After a LOT of wasted time, I’ve found a few workarounds (will share them here), but I certainly prefer simpler folder structures and workflows. I’ll get deeper into this topic later. Here’s Sony’s XAVC workflow guide in case you are curious.
The Engine Under The Hood
In HD the Sony FS5 captures 10 bit 4:2:2 at up to 50Mbps max. When recording (internally) 4K (UHD 3840×2160) the camera captures only 8 bit 4:2:0 at 100Mbps max. I honestly find this a bit strange, as the two-year-old Panasonic GH4 can capture internally HD at 200 Mbps and 4K (UHD 3840×2160) at 100 Mbps both at 8-bit 4:2:0. The GH4 also offers the option to record Cinema 4K (4096×2160) at 100 Mbps, and 8 bit 4:2:2 or 10 bit 4:2:2 externally.
In other words, with the FS5 I’m better off shooting HD 10 bit 4:2:2 than 4K 8 bit 4:2:0. Period.
Picture Profiles
The FS5 has seven picture profiles including Cinegammas, S-Log2, and S-Log3. The Cinegammas are great for projects that won’t be graded or require very little grading. S-Log2 and S-Log3 can capture the camera’s full 14-stop dynamic range, so they are great profiles for projects that require serious grading. I’d probably stick to Cinegammas when shooting 4K internally. If you do need a very flat profile, I’m told (but haven’t verified) that S-Log2 is better than S-Log3 when you only have 8 bit data. I’d love to get some additional thoughts on this.
I find it very odd that the FS5 doesn’t support loading or saving picture profiles. You can manually tweak each profile and save the overall camera’s profile to an SD card, but you can’t take a single picture profile and share it with someone else, for example.
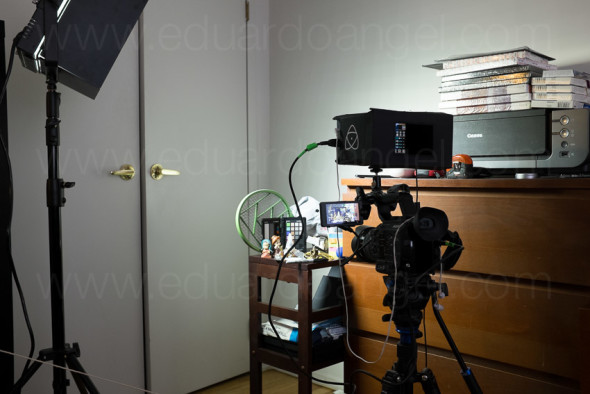
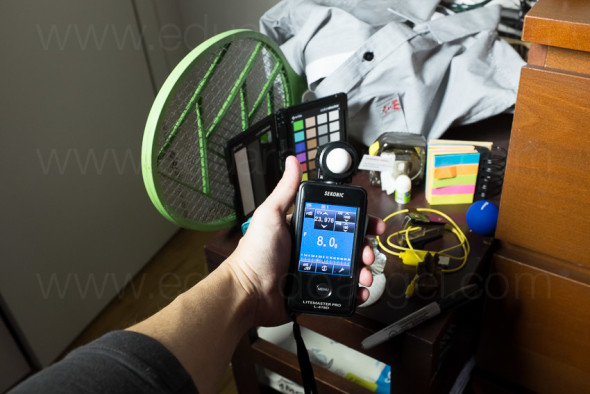
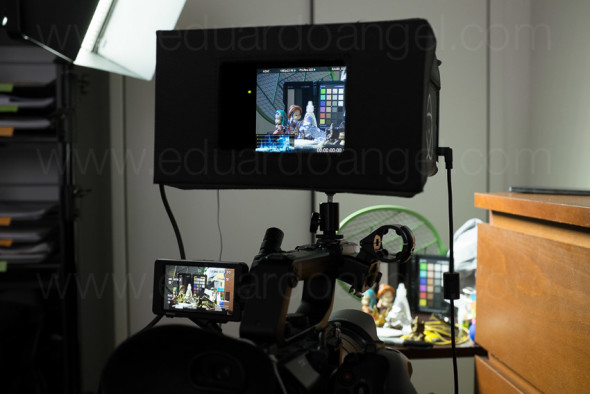
Testing the camera profiles under controlled lighting situations with different lenses and different ISOs.
Workflow
In Brooklyn we are using the latest version of Adobe Premiere Pro CC on several machines, from 2-year old MacBook Pro to brand new iMacs and MacPros. For my “European Journey” I won’t be able to take a big and heavy computer or monitor with me. I’ll have to rely on a brand new, maxed out MacBook Pro like this one [B&H and Amazon] for all my editing and grading. Not great, but it is what it is.
Here’s where it gets tricky:
The FS5 and a7S Mark II shoot UHD (3840 x 2160) with a 16:9 (1.78:1) aspect ratio.
The FS7 shoots Cinema 4K (4096 x 2160) with a 1.9:1 aspect ratio.
The a7S II uses XAVC-S 4:2:0 8-bit at 100Mbps.
The FS7 uses XAVC-I 4:2:2 10-bit (in both HD and 4K) at up to 600Mbps.
The FS5 uses XAVC-L and records 4K internally at only 8-bit 4:2:0 at at 100Mbps.
In HD it is 10-bit 4:2:2 at 50Mbps internally and externally.
The difference in this area between the FS7 and FS5 is quite significant. Also XAVC-L is more compressed, so we can record for a longer time on SD cards, but the codec is extremely taxing to a computer. This is a big issue for me, working on a laptop on the road.
Regarding ISO, I suggest staying below ISO 3200 at all times. If you absolutely need to go higher, I wouldn’t push it over 6400, and in that case I probably would shoot with Gamma OFF.
Recording 4K internally (8 bit) I experienced the best results shooting PP7 (Slog2) at 3200 ISO.
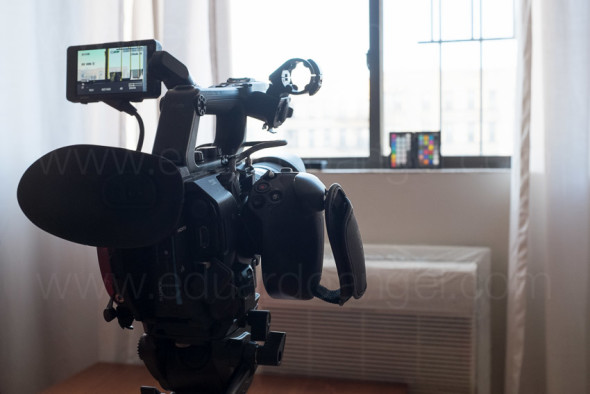
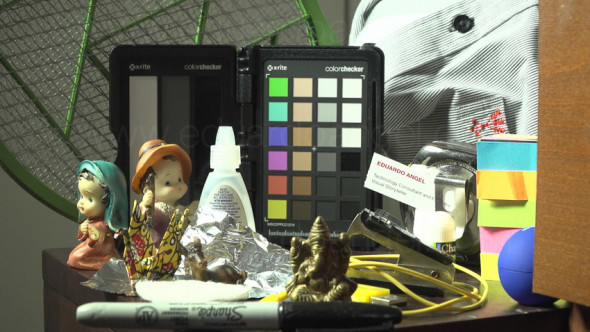
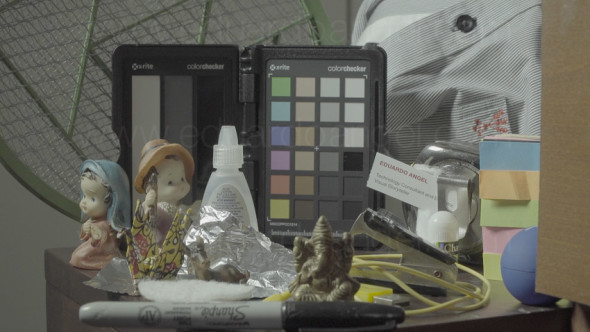
Testing High Dynamic Range of the FS5. The Color Checker Passport Video is always handy to set a standard between tests.
Shooting 4K
The greatest benefit of shooting at a resolution larger than your final output as both stabilization and reframing can be accomplished without losing any resolution. In other words, when oversized footage is dropped into a smaller resolution timeline, the additional resolution allows effects like handheld camera presets to move the footage WITHOUT resizing the source footage. The highest frame rate in the FS5 shooting 4K is 30 fps which I consider an important limitation. Additionally, in 4K mode there are no slow motion options whatsoever. And, for some odd reason you can’t record different frame base rates on the same SD card.
By the way, I’ll be presenting TEN workshops at NAB’s Post-Production World next month, covering topics like 4K, pre-production, and one-man band assignments.
Working with Proxies
Unlike what I’ve read on many web forums, it is possible to record proxies in both HD and 4K internally with the FS5. Not only that but one can choose between two sizes for the proxies: 1280×720 and 640×360.
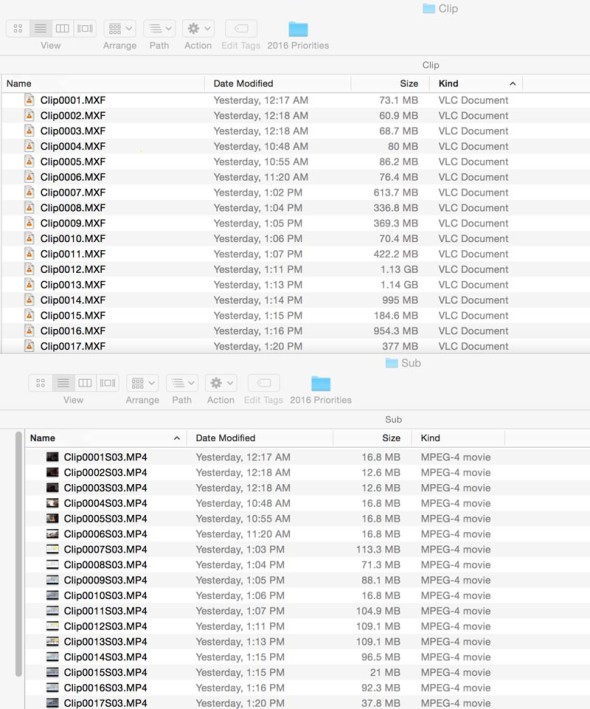
The difference in file size between proxies and high-res clips is considerable: A 1GB MXF clip generates a 1280×720 MP4 proxy of approximately 100MB. Even my current two-year-old MacBook Pro can handle several hours of 1280×720 MP4 clips at full resolution without any delays. The idea (on paper) is to work with the low-res proxies and replace them with the high-res files right before grading or output.
The real issue working with proxies on the Sony FS5 is that for some reason the camera adds an “S03” to the file’s name. Adobe Premiere Pro needs an identical file name to replace the proxies (low-res files) with the original (high-res) files.
As of right now, the only way I’ve found to make the process seamless is to batch rename all the proxies using Adobe Bridge BEFORE they are imported into Premiere Pro. This is a major headache and might lead to a lot of potential asset management issues. I’ve contacted several experienced editors and tech gurus and no one seems to have a better workflow. If you have any suggestions I’d love to hear them.
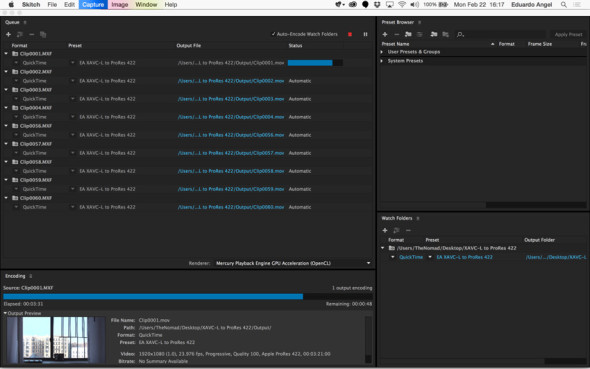
Many of you would think transcoding is an option, and you might be partially right. Transcoding was one of the main reasons why we switched from Final Cut to Premiere Pro, so going back is a very hard sell. And, yes, transcoding the MXF files into ProRes 422 would work in a studio situation, but not when you are traveling for several months, editing on a laptop and with very limited time and hard drive space. The last thing I want to do after a 12-hour shoot is to nurse a laptop until 3 a.m. Been there, done that too many times.
To roughly calculate the file size increase from MXF to ProRes 422 (not HQ) one can simply multiply the file size by three. So, if you have a folder with 5GB of MXF files, you will have 15GB in ProRes 422 files. Unless you are deleting the original files that’s 20GB. Add at least one backup and we have 40GB. How much is that in actual footage? About 10 minutes. Any time I spend transcoding is wasted time. The longer the post takes, the less money we make, and the less time we have to work on other projects. Transcoding is no longer an option for us.
Is this getting a bit confusing? Check our online resources right here.
Using External Monitors/Recorders
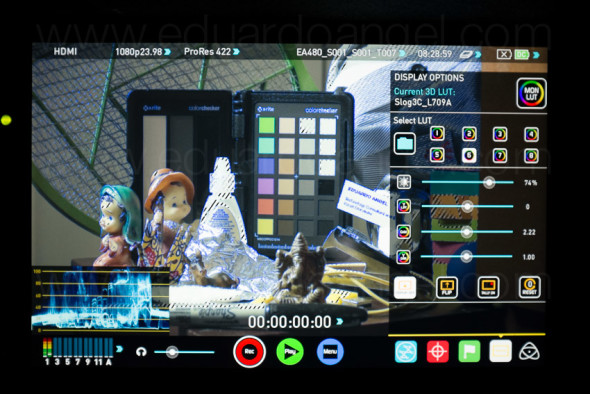
The Sony FS5 doesn’t have any LUT support so if you’re shooting in S-Log, you might need an external monitor/recorder. We already own an Atomos Shogun [B&H and an amazing kit on Amazon] which provides 3D LUT support, a better/bigger monitor, and a much better post workflow since we can record ProRes. Keep in mind that when recording externally via HDMI with the Sony FS5 to something like a Shogun or a Convergent Design Odyssey 7Q [B&H and Amazon], proxies are not recorded. This is not a deal breaker as you are recording ProRes 422 on the Shogun.
With the FS7, you can get an additional Sony XDCA-FS7 Extension Unit that supports Apple ProRes 422 encoding. Since the Extension Unit costs about the same as an Atomos Shogun I’d get the latter [B&H and Amazon].
With the FS5, if you want ProRes, you must shoot to an external recorder. Here are some interesting things we found testing the FS5 with the Atomos Shogun:
– When shooting externally (HD or 4K) to the Shogun one can NOT simultaneously shoot internally. This is supposed to change via a Firmware update.
– As expected, the audio from the camera’s internal microphone is embedded with the Shogun’s ProRes.
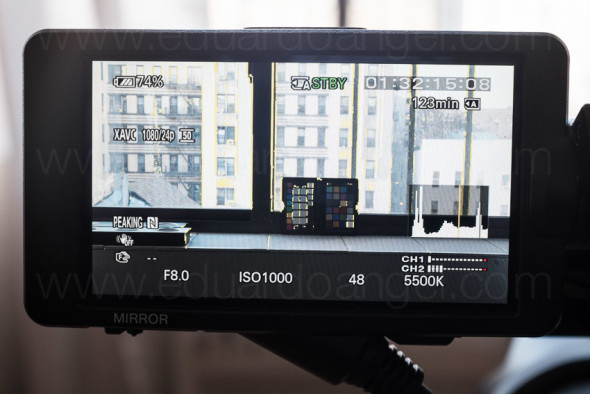
– This one is important: When the Shogun is connected to the camera, both the Shogun and Camera’s LCD display an image. If we hit record FROM THE CAMERA, we can monitor the 4K recording on the Shogun, but the recording happens internally.
– If we want to record externally to the Shogun, we must hit record ON THE SHOGUN. The camera’s LCD stays on, but says STANDBY instead of REC.
This can be pretty confusing under real-life (aka hectic) shooting situations.
But an external monitor/recorder adds weight and about $1,700 to the package. If you already own a Shogun or Odyssey and are undecided between the FS5 or FS7 the answer is pretty clear, get the latter.
Slow Motion
The Sony FS5 uses an internal memory buffer to cache the super slow motion content. Essentially you shoot for eight seconds and wait for another 30 seconds. Great in a studio situation, very frustrating in real life situations. At 240fps, shooting for eight seconds generates an 80-second clip. Important: if you accidentally press the menu button the camera reverts to the normal speed. The FS5 can technically go up to 960fps, but the after 240fps isn’t good.
As a comparison, the Sony a7S Mark II can shoot continuously at 120fps, but only at 720p. The Sony FS7 can shoot up to 180fps in HD, and it does so continuously.
Audio settings
The FS5 offers one stereo internal mic (on the removable top handle) and two XLR Jacks (one on the removable top handle and a second one on the camera’s body).
For “run and gun” situations, I usually pick Channel 1 (on the camera body) for the shotgun mic and set it to level 5 manual. If I am shooting long interviews or educational content I prefer to use a wireless system. In my humble opinion, Rode offers the best bang the buck [B&H and Amazon]. In either case (Shotgun or Wireless) I assign Channel 2 (on the handle) to the internal mic, and set it on AUTO.
We like this simple set up because we can quickly remove the handle, and attach the shotgun or wireless receiver to one of the 10 mounting points on the body, without having to change the audio settings.
Accessories
Many shooters complain that the Sony FS5 needs a lot of accessories for high-end work. I believe they are missing the point.
The camera can be greatly expanded and enhanced, which is great, but adding a shoulder rig, matte box, follow focus, and external monitor defeats the whole point of the FS5: portability. If you need all these features simply get a Sony FS7, a RED Raven, a Canon C300 Mark II, or a Panasonic Varicam LT.
That being said, there are some essential accessories that I’d at to my arsenal and that should cover a full day of “run and gun” action.
- Benro Aero 4 Video Travel Angel Tripod Kit [B&H and Amazon]. I believe there are two or three versions; get the one that supports 8.8 lbs.
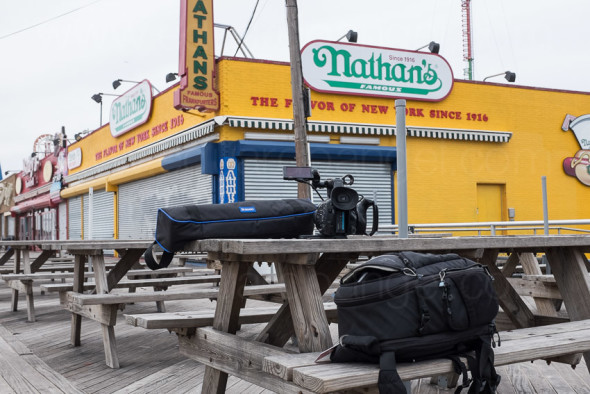
- Tenba Shootout Backpack [B&H and Amazon]. The 18L version fits the FS5 with the kit lens and a couple of batteries. If you are adding one or two lenses and accessories I’d recommend getting the 24L version.
- Rode NTG4+ Shotgun Mic [B&H and Amazon] OR a Rode RodeLink Wireless Filmmaker System [B&H and Amazon]
- The kit includes a BP-U30 that lasts for about two hours. I would recommend getting a couple of additional BP-U60 batteries[B&H and Amazon] each lasting about four hours.2x Sony, Watson or Wasabi BP-U60 Batteries. I’ve used these third party batteries on other systems with great success and they cost about a THIRD of the original Sony batteries.
- Get four 64GB SD cards or at least two 128GB cards if you are shooting 4K. I’ve been using these cards [B&H and Amazon] for the past 3 years with other systems (Canon, Sony, Panasonic) with great success.
- For interviews and educational content our Cinevate 24″ Duzi Slider [B&H and Amazon] always comes in handy.
- Film Convert just announced support for the Fs5. I haven’t played enough with the latest version and the FS5 files to write about it, but I’ve used Film Convert with other cameras and find the standalone application as well as Premiere Pro’s plugin extremely powerful yet easy to use.
NAB is around the corner. I doubt we’ll see anything earth shattering like the RED One in 2006 or the Blackmagic Cinema Camera in 2012. Panasonic’s 6K GH5 rumors are getting louder and Canon dropped the price this week for its C500 from $16,000 to $10,000 so I’ll wait a bit longer, just in case. I have a jam-packed seminar schedule at NAB, but would love to meet in person with fellow filmmakers attending the show. Register today using code PPW06 and save $100 on your PPW pass!
Read Next: Conclusion – Who should or shouldn’t buy a Sony FS5? Before you continue, follow me on Twitter!
