Video
Camera Movement Techniques – Panning and Tilting 101
There are many simple techniques you can use to craft and enhance your video productions and sculpt your audience’s perceptions of your stories. Below we’ll provide some ideas on how you can effectively use panning and tilting in your next shoot.
Go ahead and move your head from left to right. Now move it from right to left. That’s panning, plain and simple. This technique is great for following a subject as it moves across the frame, or, you can use it to redirect the viewer’s attention to reveal new details.
Now move your head up and down, as if you are emphatically saying Yes. This is tilting. You can achieve a great deal with a simple tilt, including:
• Bringing the viewer into a scene
• Emphasizing the significance of a subject
• Revealing details in a scene
• Showing the vertical size of an object
Panning and Tilting in Practice
As panning and tilting motions are similar to how our necks move, feel free to use these techniques together in a production. You can craft a character’s point of view (POV) or make it appear as if the action is being observed by someone else.
Remember to consider the height of the camera when plotting your shots as this will determine the physical and psychological perspective from which the audience views your subject. For example, if your camera is at about eye level with your subject, when tilting up it looks like someone is looking at the subject’s shoes and then up to their face. When tilting down, it appears as if someone from a higher vantage point is looking downward and has suddenly discovered the subject. A few more things to remember when performing your pans and tilts:
• Very quick pans can be used as transitions between scenes. This is what we call “in-camera editing.”
• A slow pan or tilt allows the viewer to take in all the visual information in the scene.
• A fast pan or tilt, something typical from Wes Anderson and Paul Thomas Anderson films can disorient the viewer and jolt their attention to a new point of focus.
Smooth Moves
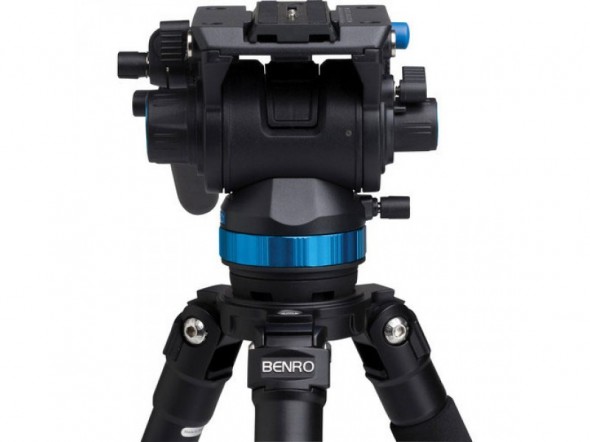
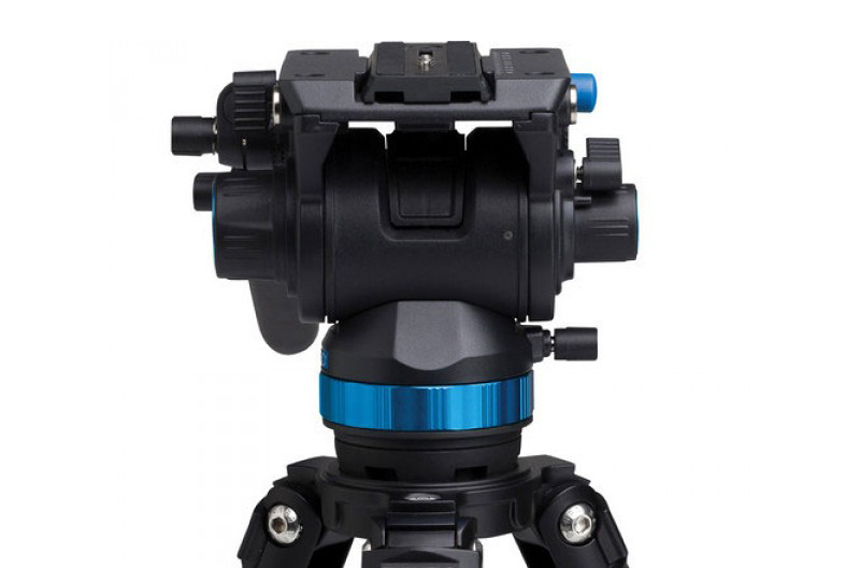
More often than not, we want our pans and tilts to be steady and fluid, unless, of course, the story calls for the camera to shake. In order to capture truly smooth movements, it is essential to properly set up and counterbalance the tripod. Be sure to fine tune the tension, so the tripod does the heavy lifting for you.
If you’re able to block out shots in advance, practice the movements several times before even rolling the camera, and adjust the tension accordingly. Generally speaking, you’ll want to set the tripod’s head with less tension for close or fast-moving subjects, and increase the tension for slow movements.
To sum up, you can achieve a great deal in your next video/film production by using the relatively simple techniques of panning and tilting. From guiding your viewer into a scene to crafting a unique transition between scenes, you can employ pans and tilts in a variety of ways to finesse your narrative.
Want more tips? Watch our filmmaking courses on Lynda.com
Have specific questions? We’re here to help. Contact us today and let’s meet on-site or online.
Video
My Top Ten Favorite Articles of Last Week.
These are my top ten favorite articles of last week, in no particular order. If you have something worth sharing next week, please send it my way by email or Twitter.
The crew of VICE and their go-to Canon gear
Listen to 12 Hours of François Truffaut Interviewing Alfred Hitchcock for Free http://bit.ly/1sOj44w via No Film School
The perfect storm of talent and tools http://bit.ly/1sOj8kQ via Pro Video Coalition
Solving 50 problems in 50 days with design. Just like that. http://bit.ly/XwoK6i
The Art of Editing to Music http://bit.ly/1p0RCsM via Creative Planet
Magnum Photographer David Alan Harvey in the streets of Korea with the Fuji X100S
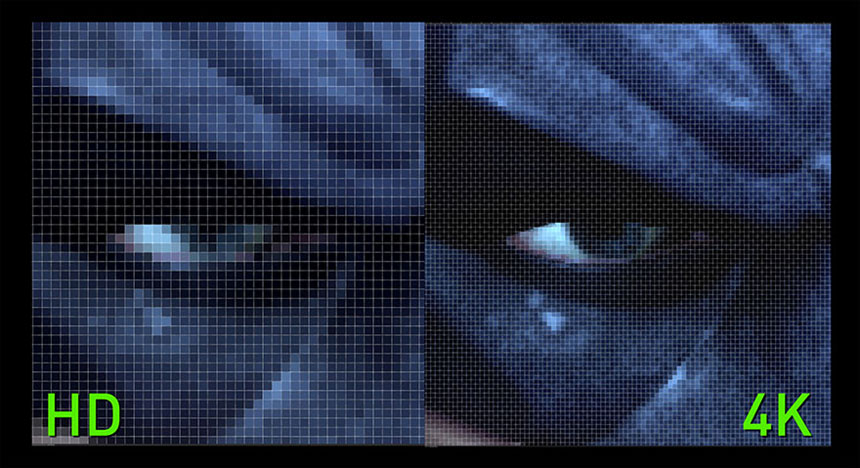
4K Monitors Under $850 http://bit.ly/VCxBlu via Pro Video Coalition
How To Make A Movie In A Country With No Film Funding http://bit.ly/VCxLcD via Indiewire
The Panasonic Toughpad shows up in a Comic Book http://bit.ly/1pF2QrJ via Digital Trends
Set Etiquette for Cinematographers http://bit.ly/1pF36XK via Mastering Film
News
My Top Ten Favorite Articles of Last Week.
These are my top ten favorite articles of last week, in no particular order. If you have something worth sharing next week, please send it my way by email or Twitter.
13 Reasons Why You Shouldn’t Ask A Chinese Photoshop Expert For Help http://bit.ly/XfuCks via The Poke
James Bond: 50 Years of Main Title Design http://bit.ly/Xfvlls via Art of the Title
This Way Up on Vimeo http://bit.ly/1ytjPhD via YouTube
Remembering Robin Williams: 7-Minute Video Tribute http://bit.ly/1lU9R34 via The Playlist
Future Independent Filmmakers Will Make More Than Movies http://bit.ly/V4sc6i via Film Courage
23 eBooks For Photographers That Are Completely Free http://bit.ly/1lZQ0iW via Light Stalking
Acer Reveals B286HK 28-Inch 4K Monitor, Specs, Price http://bit.ly/1pvJOEr via Digital Trends
The New USB Standard Will Turn Your Photo Transfers Up to 11, and It’s Reversible http://bit.ly/1pvKF88 via Petapixel
For top 10 posts 60 Seconds on Set: Focus Pulling http://bit.ly/1pRzXHV
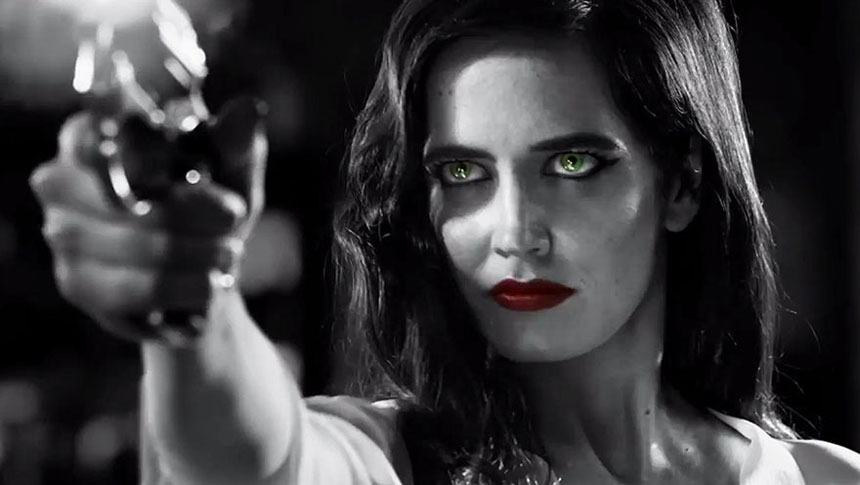
Robert Rodriguez Discusses Hollywood, Film Making and Sin City http://bit.ly/VwVA5h via Comic Book Movie
Video
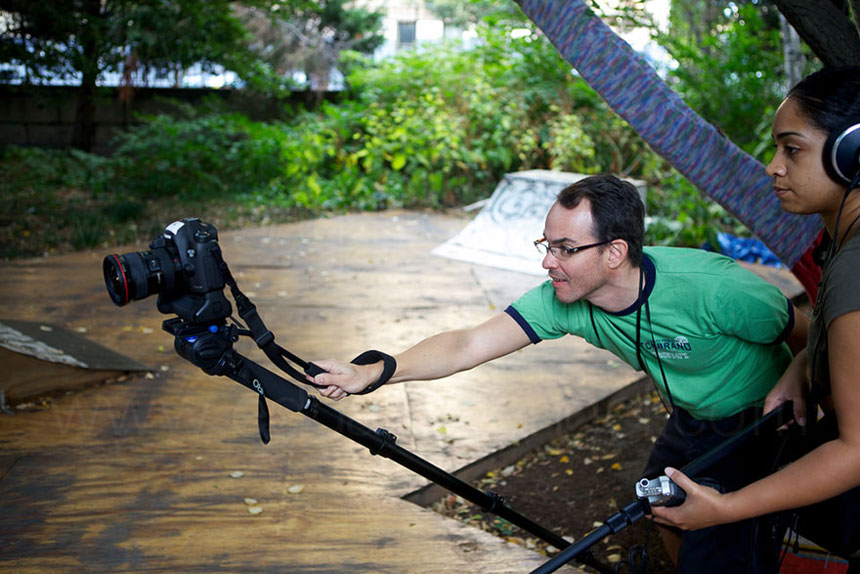
How to avoid the slideshow look when shooting video.
As we discussed previously, one piece of equipment you will be able to find in almost most any photographer’s kit is a monopod. This tool provides enough stabilization for us to open up the aperture and work with longer exposures. But, how well does this piece of equipment translate for someone making the transition from stills to video?
When it comes to shooting video, monopods often gets a bad rap. They are not stable enough. It’s impossible to get smooth pans and tilts. What if I need to walk away from the camera to adjust the lighting or sound?
Many people will tell you that the first thing you need to buy to support your camera is a good fluid head tripod, but I actually often recommend a monopod over a tripod for someone who is just starting out as a filmmaker. The monopod’s “limitations” force us to think differently about the borders of our frame. And it is a simple way to introduce camera movement and avoid the locked off “slideshow” look that is prevalent in so many DSLR productions.
Most critics of monopods often come from a narrative filmmaking perspective and do not take into consideration the conditions that are common for run and gun documentary style filmmaking. If you are trying to capture unpredictable, real time action, it is nice to be able to move quickly through a crowd without knocking people down. Adjusting the height of your tripod can be a real pain if you are working with a heavy camera rig and do not have an assistant or grip helping you set up. Another important consideration if you are planning to shoot on a street of a big city like NYC is that tripods often require a permit, but monopods are perfectly acceptable. Go figure.
If you are working with a small crew and under a tight schedule a monopod can provide you just enough stability, while still retaining a small footprint and flexibility.
Of course it is important to remember that a monopod will never be a complete substitute for a tripod. It will never provide the same degree of stabilization for static shots and pans and tilts especially when working with long focal lengths or long shot durations. You certainly don’t want to be caught filming a two hour-long interview on a single leg and in certain situations the inherent sway of a monopod can be incredibly distracting. There are very few cameras that can produce decent handheld footage without some form of rig or stabilization. So here’s a simple rule of thumb: use a monopod on any scene that you might consider shooting handheld.
Another option would be to use a shoulder rig, but how often is the most dynamic angle for a scene going to be shot from shoulder height? Not often.
With a monopod you can get the angles you want and have the floor as opposed to your shoulder supporting the camera’s weight. Even if the tip of the monopod is not touching the floor its weight can do wonders to support your footage. Because of its small footprint it doesn’t add much to bring it along with your kit and it could be just what you need to get out there and start shooting.
To learn more, check out our new Camera movement course on Lynda.com, where we worked extensively with Benro Monopods and Tripods to show off the advantages and disadvantages of each.
News
My Top Ten Favorite Articles of Last Week.
These are my top ten favorite articles of last week, in no particular order. If you have something worth sharing next week, please send it my way by email or Twitter.
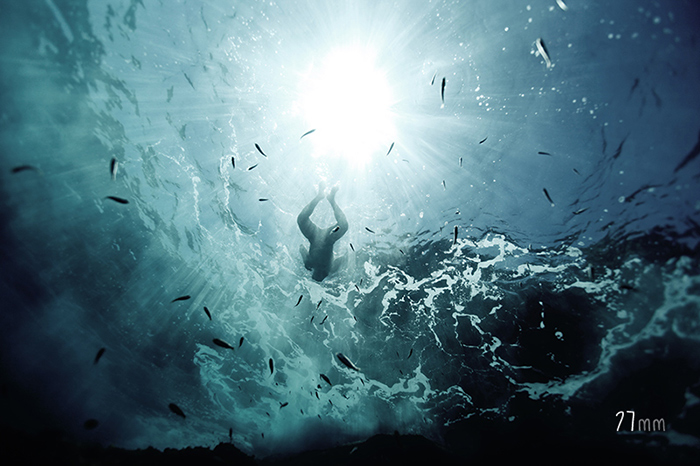
Increíbles fotografías subacuáticas de Enric Adrian Gener http://bit.ly/1sQfKDo via Cultura Inquieta
Secret Photos From Inside North Korea Show Life In The World’s Most Isolated Country http://bit.ly/1sQbsMq via Fast Company
Complete your photography kit with Lightroom and Photoshop for just $9.99/month
A Beautifully Filmed Look Inside Sigma’s Lens Factory in Aizu, Japan http://bit.ly/1sQfTXJ
14 Most Colorful Towns and Cities in Europe http://bit.ly/1sQkBEN via The Culture Map
‘Deadline’: A Fascinating Look Behind the Scenes of a Struggling Philadelphia Newspaper http://bit.ly/1sQlbm3 via Feature Shoot
Panasonic Lumix DMC-GH4 and Sony Alpha 7S added to studio comparison http://bit.ly/1sQlE7v via Digital Photography Review
Apple expands OS X Mavericks Raw compatibility http://support.apple.com/kb/HT5955 via Apple
Adobe Officially Working On Aperture to Lightroom Migration Tool, Releases Accompanying Guide http://adobe.ly/1sQm51U via Adobe
Photos of the Super Moon http://bit.ly/1sQmEZn via Le Figaro
Video
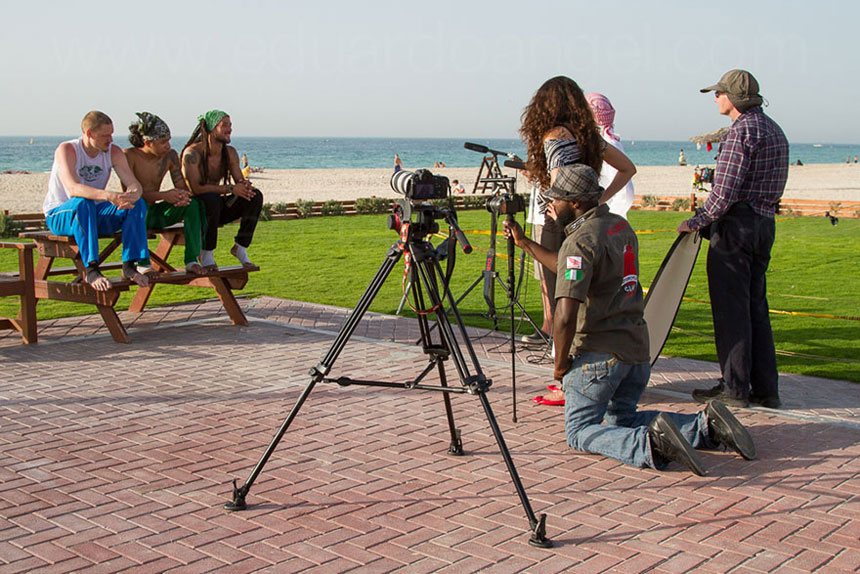
Camera Movement – Tripod or Monopod?
Unlike still photography, filmmaking is a medium defined by motion. Motion is the action within the frame—but it’s also the motion of the frame itself. Even a series of well-lit and well-composed shots can be perceived as a slideshow rather than a story in motion if the shots remain “stagnant.” Nowadays we’re so used to seeing camera movement in Hollywood films that we expect to see movement in all the videos we watch—even if we don’t know much about filmmaking.
Here’s the same scene shot handheld, with a monopod and on a tripod. The mid ground between these two extremes, is the monopod. It has a little bit of movement, which adds a layer of realism. It conveys a scene straight out of a reality TV show, perhaps.
On this article we discuss the primary tools for accomplishing camera movement—and when to use which.
When, and why would I use a monopod over a tripod? If I have to pack light, I’m working by myself, need to be very quick, I’m using a light camera system with a shotgun, and a little bit of movement is okay, I would choose a monopod.
To learn more, watch our new course Camera Movement for Video Production on lynda.com.
News

My Top Ten Favorite Articles of Last Week.
These are my top ten favorite articles of last week, in no particular order. If you have something worth sharing next week, please send it my way by email or Twitter.
New Photoshop Extension Cures the Multiple Open Document Blues http://tnw.co/1z5B2AJ via TNW
Blackmagic CEO Grant Petty Discusses URSA & Image Issues with Production Camera 4K l http://bit.ly/1z5B9w5 via No Film School
Planetary Panoramas – 360 Degree Night Sky Time-Lapses http://bit.ly/1opnDMT via Vincent Brady
NIKE world cup fonts http://bit.ly/1qGz4TF via designboom
4K RAW at 1000fps: Astounding Test Video Shot with the Phantom Flex4K http://bit.ly/1lSrkHX via Petapixel
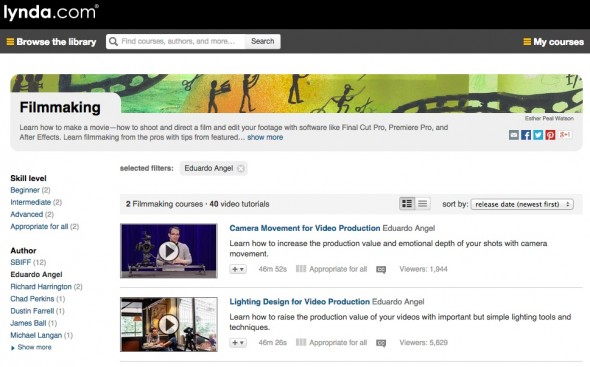
Learn how to increase the production value and emotional depth of your shots with camera movement via http://bit.ly/CameraMovement lynda.com
13 Bad Habits Filmmakers Need to Break http://bit.ly/1o6JcEI via Indiewire
What Does It Mean to Be a Cinematographer? http://vimeo.com/100096260 via Vimeo
Lab tested: The Mac Pro Daisy Chain Challenge http://bit.ly/1o6JMCu via Macworld
This Graphic Details the Daily Routines of Famous Creative People http://bit.ly/1o6KaB3 via Lifehacker
