Video
7 things we discovered after shooting 4K with the GH4. You won’t like #4.
The invitation from Panasonic USA to perform a field test arrived quite suddenly, with multiple commitments for Fashion Week already in place, and with nasty weather that didn’t really allow access to tried and true locations. Great!
It is very important to mention that the camera we tested was a preproduction model running firmware v0.3. As it is always the case with preproduction models, as well as some early production models, many features were disabled or not working as expected. We also wanted to test if our current workflow, which we generally use with Blackmagic’s Pocket Cinema Camera and Canon products—ranging from the 60D to the 5D Mark III to the C300 and even some 1DCs—would work at the same or needed adaptations for the GH4.
1. Comparisons
Instead of a side-by-side comparison between the GH4 and other brands, Sean Davis and I were more interested in exploring the new features of the GH4, compared to the GH3 and a hacked version of the GH2 that we have used in the past. Obviously, shooting 4K was at the top of the list.
2. Look and Feel
The GH4 is the exact same size as the GH3. Not only that, unlike other camera manufacturers that feel inspired to sell new batteries and chargers with every new camera, we were pleased to see that the GH4 shares the same exact DMW-BLF19 battery (here’s a much better deal). In other words, all your GH3 “power rigging accessories” will continue to work. Great news for Panasonic users and rental houses. An important difference (and a small hiccup in our field test) is that the GH4 uses Micro HDMI, and not the GH3’s Mini HDMI.
Before you ask, the answer is no. We did not have the Lumix DMC-YAGH Interface Unit (aka The Brick) with us.
3. The 4K Footage
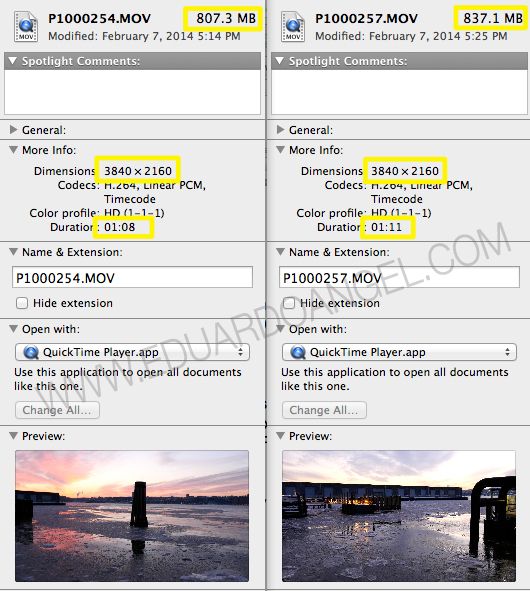
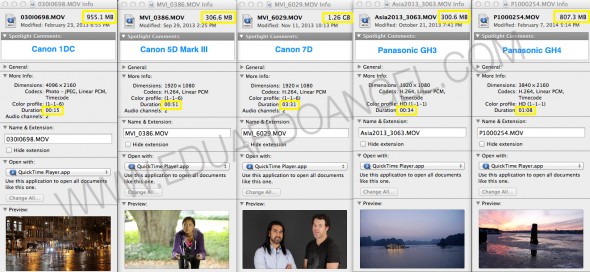
As you can see from the image below, the GH4’s 100 Mbps is broadcast 4K or Quad HD (3840 x 2160), not DCI compliant 4K cinema spec (4096×2160), but the camera is capable of recording DCI compliant 4K at 200Mbps. This article explains what DCI is.
Just for fun, I created this side-by-side file size comparison between the cameras I use most often.
Everything in Slow Motion was shot at FHD 96 fps. Everything else was shot at 4K (3840×2160). We used the Cine-D Profile. The only “grading” done was the B&W preset on Adobe Premiere Pro CC.
4. Storage
Regarding memory cards, we were ALSO testing a pre-production version of a SanDisk. The GH4 didn’t like the SanDisk 95mbs SDXC that we always use with our Blackmagic’s Pocket Cinema Camera. To spice things up a bit more, we had to use a beta SDHC II 280mbs 32GB card provided by SanDisk. I hope that once the camera ships, it will take “standard” SD cards, but they won’t come cheap.
Shooting 4K @100mb/s 30p on a 64GB card will give you about 29 minutes of shooting time. So we are looking at three to four cards per shoot at $150 each. All things considered, I’d get Panasonic 64 GB microP2 cards. If you have a better suggestion please send me a tweet.
This extra budget consideration of $450-$600 doesn’t even include hard drives for storage and backups. Definitively a G-RAID 4TB Dual Thunderbolt drive is the way to go.
5. High ISO
Per multiple requests via Twitter, we shot the same exact cityscape in Central Park with the GH3 and the GH4.
The exposure settings were identical:
• Manual Exposure
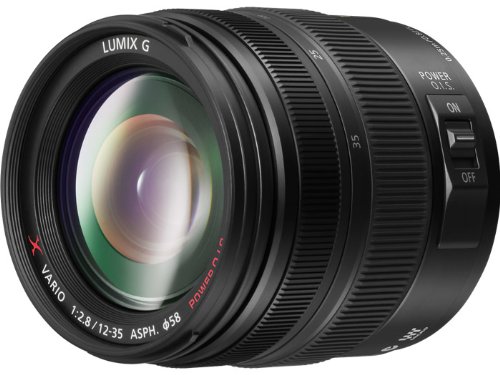
• The beautiful Lumix G X Vario 12-35mm f2.8 Lens
• f/2.8
• 1/30th
• 1600 ISO
• WB at 5500K
The only difference was that the GH3 was recording at its highest video resolution 1920×1080 at 72mb/s ALL-I 24fps while the GH4 was recording at 4K at 100mb/s IPB 30fps. Note: This was the ONLY video setting working on our prerelease GH4. Other settings were available but the camera was not able to record.
Here are some tests:
6. Workflow
The workflow we tested was intentionally kept as plain and simple as possible. The idea was to mimic a “normal” setup for an “average” shooter.
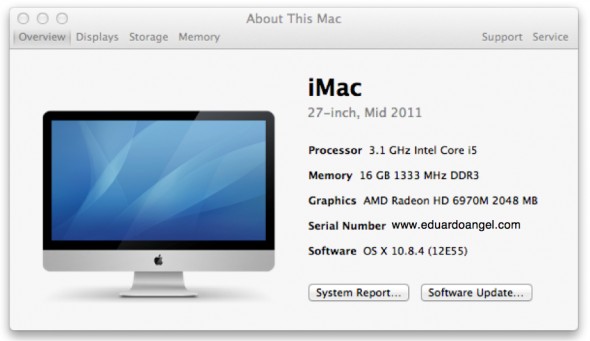
1. Download the SD card directly to a G-RAID 4TB Dual Thunderbolt External Drive connected to a 27-inch mid-2011 iMac.
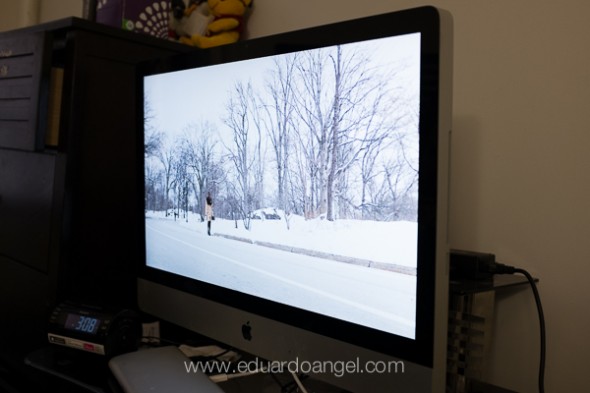
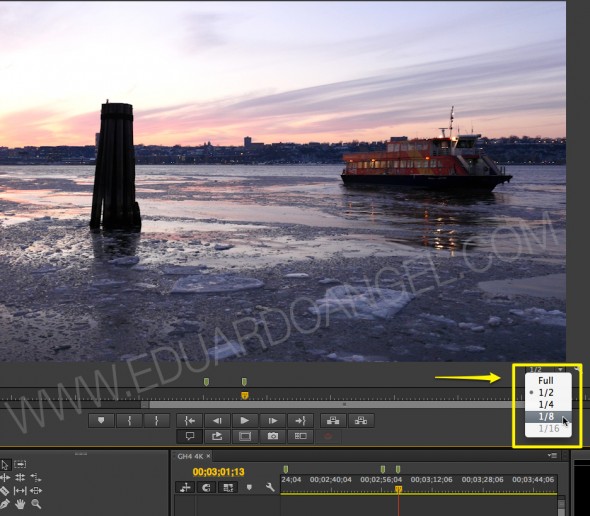
2. Open the MOV directly into Adobe Premiere Pro CC v7.2.1 without transcoding to ProRes or doing anything special to the files. This is exactly why I switched from Final Cut Pro to Premiere Pro a few years ago. Another feature I love on Premiere is the ability to change the playback resolution. In a few words, with high-resolution footage, you can set playback resolution to a lower value.
3. Start editing
7. Other Observations:
• The GH4 comes with two options for focusing magnification: Full frame and PIP which I find much more applicable for video. Even though PIP was not working while shooting video on our pre-production model, I’m sure it will be there when the camera ships.
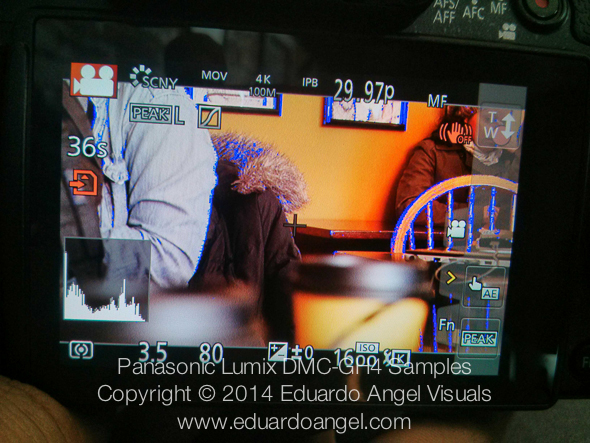
• The peaking feature was working perfectly. A wonderful addition to our tips and tricks arsenal.
• The camera didn’t have, and won’t have, built-in ND filters. I was really hoping this would be an improvement over the GH3, but we will need to keep using our variable ND filters.
• There’s a lot to like about this system and I am confident Panasonic will add enough improvements to the firmware to make your shooting experience even better.
Related Posts
I Just Got a Panasonic GH4 – Now What? Hard Drives.
I Just Got a Panasonic GH4 – Now What? Batteries.
I Just Got a Panasonic GH4 – Now What? Memory Cards.
